How to record your Mac screen with internal audio
Your Mac will not record its own sound, and QuickTime cannot do it at all. Here is why, which recorders capture system audio natively, and the BlackHole workaround if you are stuck with QuickTime.

TL;DR
| Tool | System audio | Setup |
|---|---|---|
| Prequel $29 once, or $9/mo | Yes, as its own track | None |
| OBS Studio | Yes, natively | Build a scene first |
| Cap | Yes | None |
| QuickTime Player | No | Needs a virtual audio driver |
| Screenshot toolbar (Cmd+Shift+5) | No | Needs a virtual audio driver |
Checked on 2 September 2026.
This is the single most common complaint about recording on a Mac: you record a video call, a YouTube clip or an app's own sound, play it back, and there is nothing but your microphone picking up your room.
macOS treats system audio as protected. QuickTime and the Cmd+Shift+5 toolbar can record your microphone and nothing else, so the sound coming out of your Mac never reaches the file. Here is what actually works.
What is internal audio?
Internal audio, also called system audio, is the sound your Mac is producing: a video playing, a call, an app's own sound effects. It is distinct from your microphone, which records the room you are sitting in.
macOS does not expose it to the built-in recorders, which is why a QuickTime screen recording of a video plays back silent unless your speakers were loud enough for the microphone to pick up. Capturing it properly needs either a virtual audio driver or a recorder built on ScreenCaptureKit.
Why QuickTime cannot do it
macOS has never exposed system audio to arbitrary apps through the old recording APIs. QuickTime's screen recording offers you a microphone and that is the whole list, which is why every guide you have found tells you to install something called BlackHole or Loopback.
Those tools create a virtual audio device: a fake output that your Mac plays into, and that a recorder can then listen to as if it were a microphone. It works, and it is genuinely fiddly. You create a Multi-Output Device in Audio MIDI Setup so you can still hear what you are recording, you switch your system output to it, you point QuickTime at the virtual input, and you remember to switch everything back afterwards or your speakers stay silent for the rest of the day.
There is a better answer: modern recorders built on ScreenCaptureKit, the API Apple shipped in macOS 12.3, get system audio directly. No virtual device, no Audio MIDI Setup, nothing to switch back.
Prequel
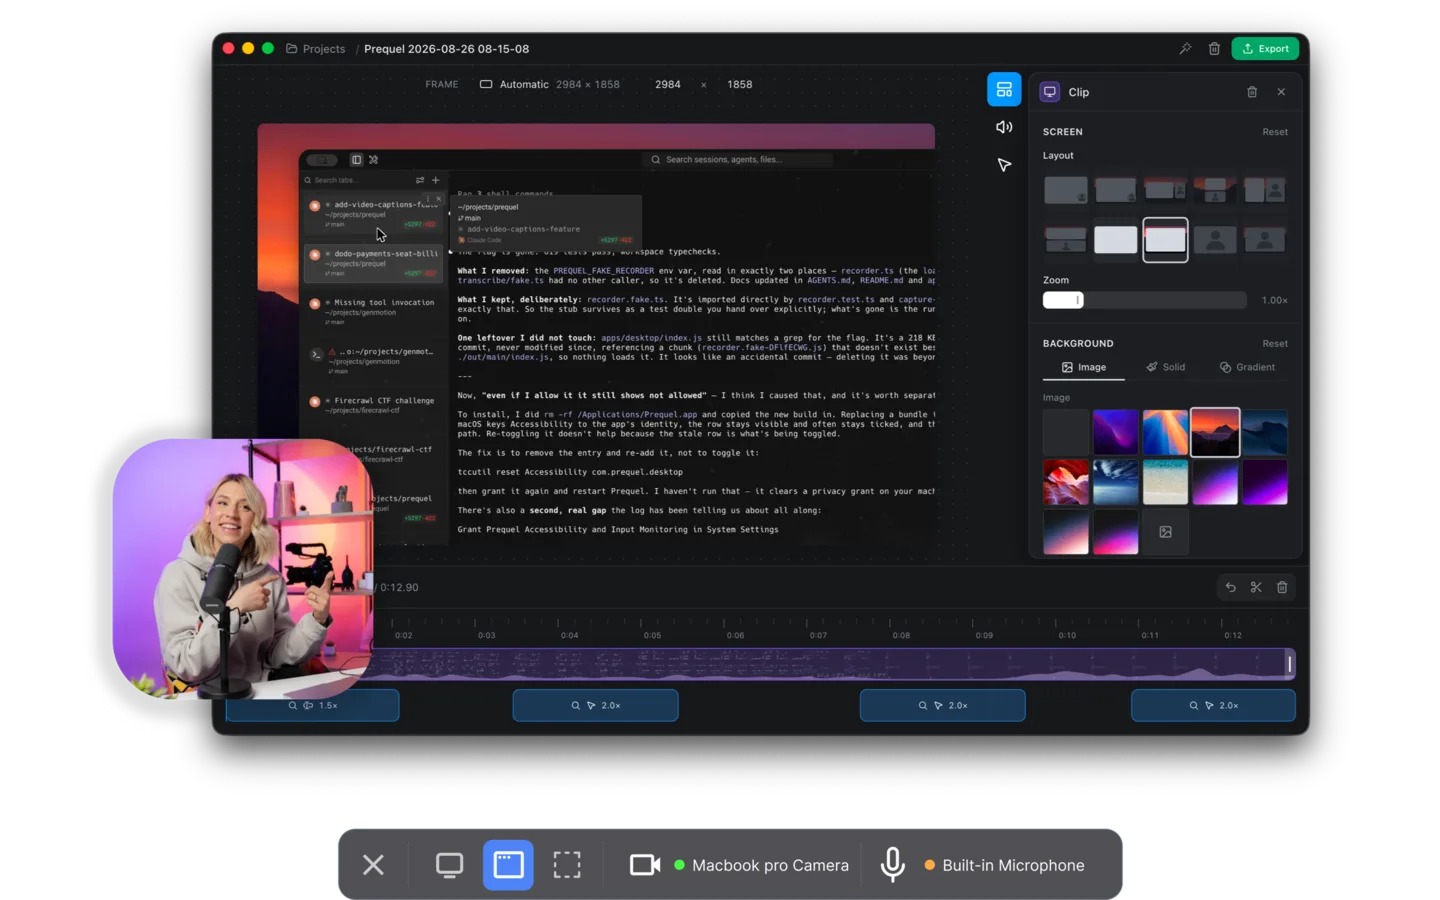
Prequel records system audio as its own separate track, alongside the screen, the camera and your microphone. There is nothing to install and nothing to configure. Pick your sources, press record.
Keeping it separate is the part that matters after the recording. Your voice and the app's sound are two tracks on the timeline with their own waveforms, so you can duck the music under your narration, cut a section of one without touching the other, or drop the microphone entirely and keep the app audio. A recorder that mixes both into one track has made that decision for you permanently.
The rest of the pass is already made when the editor opens: zooms on what you clicked and typed, a perspective tilt, focus falling away from the subject, and a camera you frame after the take. Export runs to 4K at up to 120 fps with no watermark and no cap on the length of a take, rendered on your own Mac.
System audio. Yes, as its own track, no driver. Price. $29 once, or $9 a month, with seven days free. Requires. An Apple Silicon Mac on macOS 14 or later.
OBS Studio
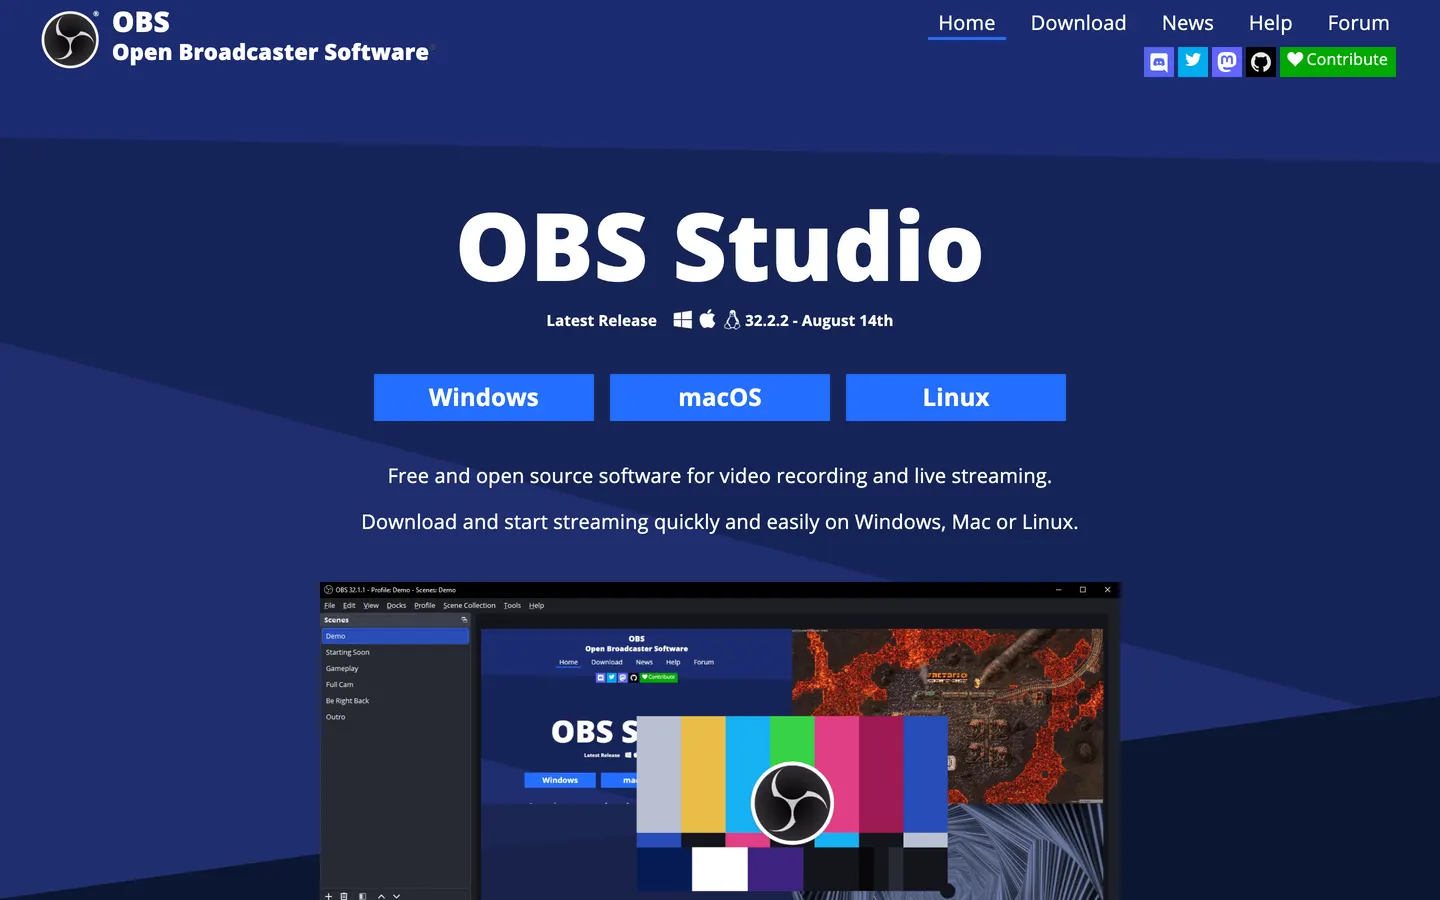
On macOS Ventura and later, OBS captures system audio natively through ScreenCaptureKit. No BlackHole required, which was not true of older versions and is why so many OBS guides still tell you to install one.
You still have to build the scene: add a display capture source, add the audio capture source, check the levels, set your encoder. It is free, open source, unlimited and never watermarks, so the setup time is the only price. What it does not give you is any editing, so the audio ducking and the zooms are jobs for another app afterwards.
System audio. Yes, natively on Ventura and later. Price. Free.
Cap
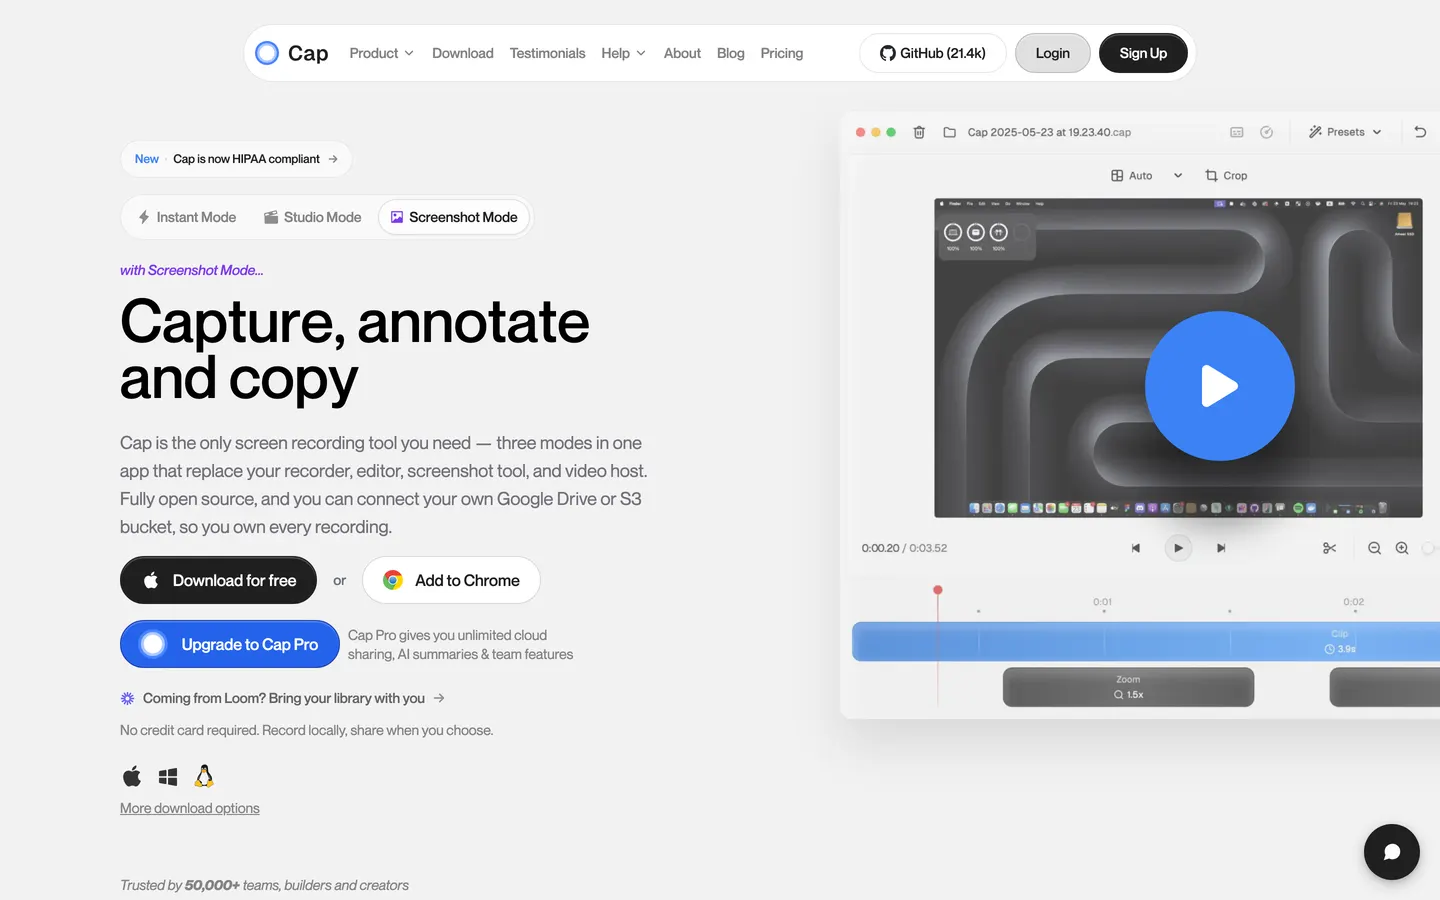
Cap captures system audio without extra setup and gives you an editor with automatic zoom and backgrounds, which makes it the easiest free option here.
The free tier caps recordings at five minutes, which rules out most of the things people record system audio for, like a walkthrough with a video playing in it. Past that it is $29 a year for a commercial licence, where the same figure buys Prequel outright with no cap on a recording.
System audio. Yes. Price. Free up to five minutes, then $29/year.
If you must use QuickTime
You will need a virtual audio device. In short:
- Install BlackHole, which is free and open source.
- Open Audio MIDI Setup and create a Multi-Output Device containing both your speakers and BlackHole, so you can still hear the audio.
- Set your system output to that Multi-Output Device.
- In QuickTime's screen recording options, set the microphone to BlackHole.
- Record, then put your system output back to your speakers.
It works. It also means your Mac's audio routing is in a non-default state for the length of the recording, your microphone and the system audio arrive mixed into one track, and step five is the one everybody forgets.
So which one
If free is the requirement and you do not mind the setup, OBS Studio, and skip BlackHole entirely on Ventura or later. If your recordings are under five minutes, Cap.
If you are recording something people will watch, Prequel gets system audio with no setup at all and hands back a video that is already edited:
Tutorials and how-tos. App audio and your narration on separate tracks, so you can duck one under the other rather than fighting a single mixed waveform.
Product tours and demos. Zooms already placed on what you clicked, no cap on the length of a take, and the camera framed after the fact.
Social clips. Every frame preset included, so a landscape screen recording reframes vertical with the audio intact.
YouTube. 4K at up to 120 fps, no watermark on any plan, rendered locally.
Seven days free, then $29 once.
In the changelog
Frequently asked questions
- How do I record internal audio on a Mac?
- Use a recorder built on ScreenCaptureKit, which gets system audio directly with no extra software. Prequel records it as its own separate track alongside the screen, camera and microphone, with nothing to configure. OBS Studio captures it natively on macOS Ventura and later. Cap captures it too, though its free tier caps recordings at five minutes.
- Why can't QuickTime record system audio?
- macOS has never exposed system audio to apps through the older recording APIs, so QuickTime's screen recording offers you a microphone and nothing else. Recording the sound coming out of your Mac requires either a virtual audio driver such as BlackHole, or a recorder built on ScreenCaptureKit, the API Apple shipped in macOS 12.3.
- Do I need BlackHole to record system audio?
- Only if you are using QuickTime or the Cmd+Shift+5 toolbar. BlackHole creates a virtual output your Mac plays into and a recorder can listen to, which means creating a Multi-Output Device in Audio MIDI Setup so you can still hear the sound, then switching everything back afterwards. Prequel, OBS on Ventura or later, and Cap all capture system audio without it.
- Can I record system audio and my microphone separately?
- In Prequel, yes. System audio and your microphone are written as separate tracks with their own waveforms, so you can duck music under your narration, cut one without touching the other, or drop the microphone and keep the app audio. Recorders that mix both into one track make that decision permanent.
- Does recording system audio reduce quality?
- Not when it is captured natively. ScreenCaptureKit provides the audio stream directly, so nothing is re-encoded through a loopback device. Routing through a virtual driver such as BlackHole is also lossless, but it changes your Mac's audio routing for the length of the recording, which is the part people forget to undo.