Product demos
Record a product demo that looks produced
Walk through the product once. Prequel pushes in on every click, frames your camera, sets it on a background and exports one MP4 at up to 4K.


 +1kLiked by 1000s of creators
No credit card required
A product demo has a specific problem. The thing you are demonstrating is usually small — a button, a field, a number that changes — and a raw screen recording shows it at the same distance for the whole take. The viewer is looking at a whole desktop while you talk about a corner of it.
The usual fix is an hour in an editor per minute of video, placing zooms by hand and guessing where the interesting moment was. Most demos never get that hour, which is why most demos look like a screen recording.
The zooms are already placed
Prequel records where you click and where you type while it captures. By the time the editor opens on your take, those moments have been clustered into zooms — pushed in on what you were doing, pulled back out when you moved on. You are not looking at raw footage waiting for work. You are looking at something close to the finished video, deciding whether you agree with it.
Every one of those zooms is an ordinary slice on the timeline. Move it, retime it, point it somewhere else, delete it. Nothing about the automatic pass is baked in.
Aim them at what matters
A demo usually needs two kinds of push. A cursor zoom follows the pointer around the screen, which suits a walkthrough where you are moving between parts of the interface. A region zoom holds still on an area you draw, which is what a pricing table or a settings panel needs — a zoom that drifts about while someone is reading is worse than no zoom at all.
Level, speed, tilt and yaw are set per zoom, and blur falls away progressively from the focus, so a push reads as depth rather than a jump cut.
The rest of it
The camera is captured as its own track rather than burned into the screen, so whether it appears, what shape it is and where it sits are all still open when the recording stops. Microphone and system audio are separate too, with separate gains. Export is one MP4 at up to 4K, rendered on your Mac's own media engine, with nothing uploaded anywhere to make it.
- Record your screen and cameraPick a display, a window or an area you drag out, with your camera, microphone and system audio each on their own track.
- Zooms and layout are applied automaticallyPrequel reads where you clicked and typed, then places the zooms, frames your camera and sets a background behind it.
- Edit, export and shareMove a zoom, trim a clip or fix a caption, then export one MP4 at up to 4K or send a link that plays anywhere.
Zoom and pan
Zooms that follow the action
Prequel automatically zooms in when you click or type, then softens the rest of the window so viewers know where to look. Every zoom is added to the timeline, so you can move, retime or delete it at any time.
Layouts
Switch layouts clip by clip
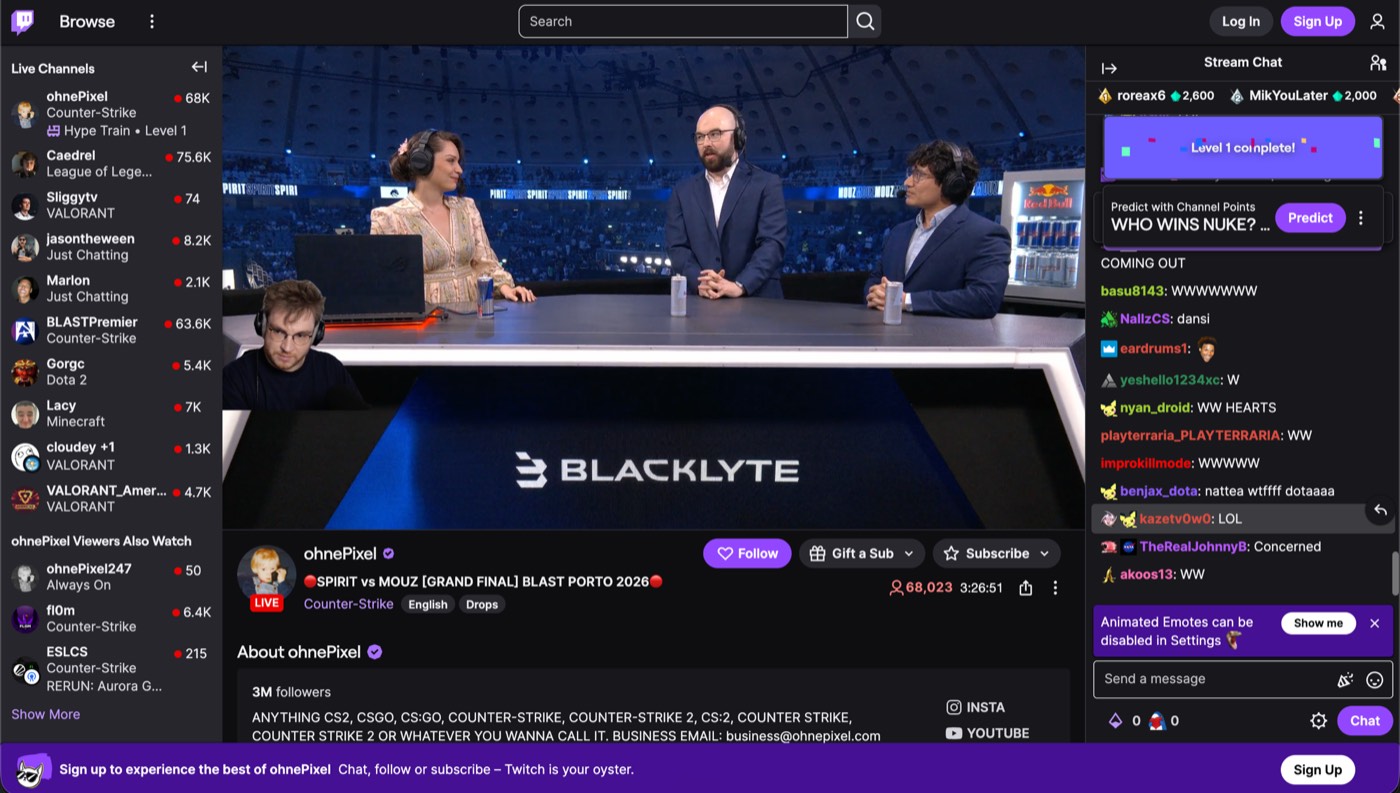
Choose from fourteen layouts for the same take: camera in the corner, beside the screen, split with it or hidden entirely. Use one layout for the whole video, or change it clip by clip.
Subtitles
Subtitles you can edit like text
Prequel transcribes every word on your Mac when the editor opens. Fix captions by typing in the transcript, choose a subtitle style or delete a sentence to remove it from the video.
Thisisthecheckoutweshippedlastweek
Thisisthecheckoutweshippedlastweek
Thisisthecheckoutweshippedlastweek
Thisisthecheckoutweshippedlastweek
Thisisthecheckoutweshippedlastweek
Thisisthecheckoutweshippedlastweek
Thanks so much for jumping on this call
Iwanttoshowyousomethingcool
[pause here]
we’ve been building for the past few months
Teleprompter
A teleprompter that follows your voice
Prequel hangs your script from the notch, just under the camera, and follows your voice — the word you're saying lights up as you say it. Wander off script and it waits for you; skip ahead or fall behind and it catches up within a couple of words.
Instant edit
Start with the edit already done
Prequel records where you click and type, then opens the editor with zooms already placed, a framed camera and a polished background. Spend less time building the first cut and more time fine-tuning.
- Zooms placedOn every click and every burst of typing
- Camera framedShaped, sized and set in a corner
- Background appliedPadding, radius, border and shadow
- Audio balancedMicrophone and system on separate gains
- Cursor cleaned upSmoothed, resized, hidden when it idles
The editor
Everything you would have done by hand
It opens by itself when you stop recording, on the take you just made. Nothing to import, nothing to line up.
Guide attention automatically
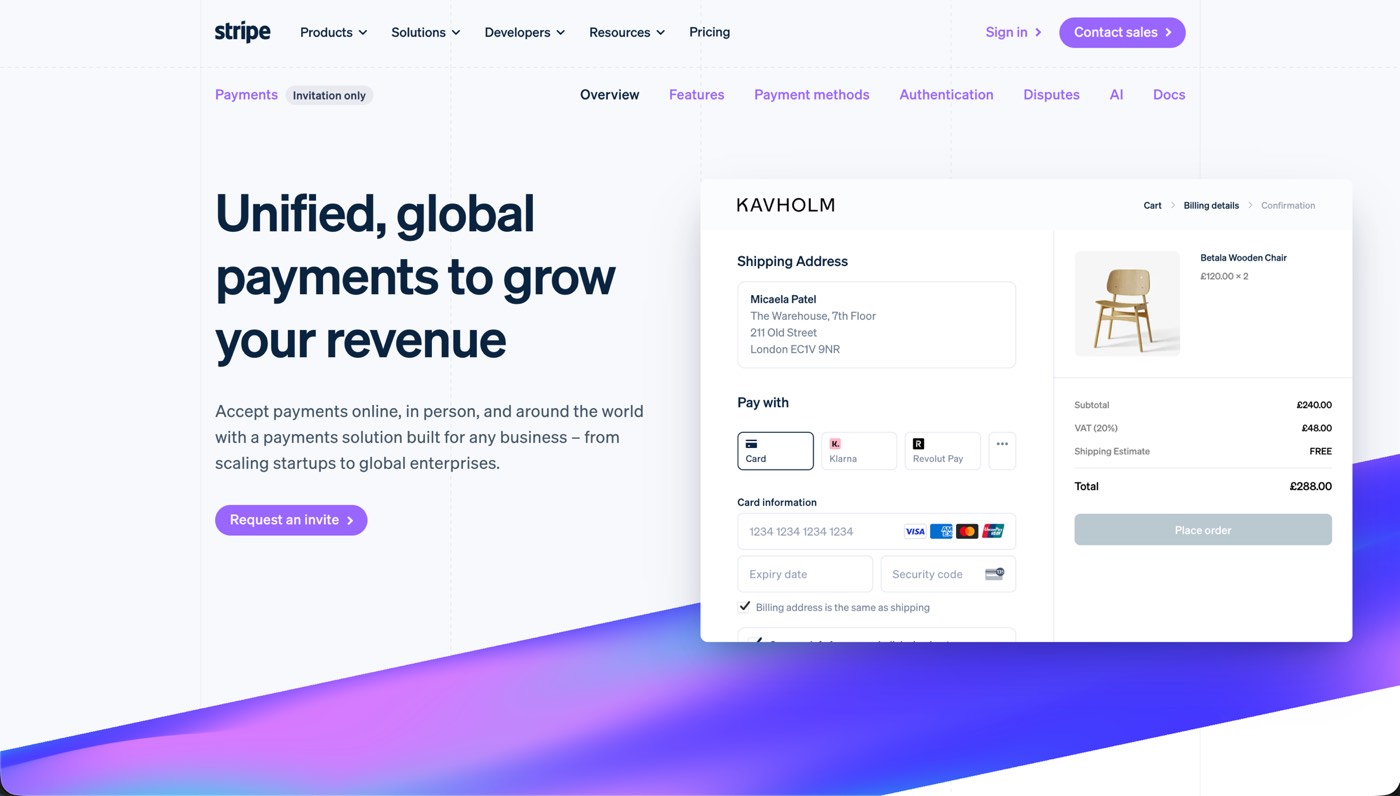
Prequel zooms into the part of the screen that matters: the cursor, a region you draw, or whatever you are typing into. Set the level, the speed and how much the rest of the frame blurs.
Look present without taking over the video
Your camera stays framed and out of the way: circle, squircle, rounded, wide or portrait, in any corner and any size. It is never burned into the recording, so none of it is decided while you record.
Make recordings look designed
Add a background, padding and a shadow without editing any of it by hand. Your own wallpaper by default, seven bundled presets, gradients and solids.
Cut the parts nobody needs to see
Trim the pauses yourself, slice by slice, with a waveform under every clip. Layout, background and audio can all change mid-take.
Keep the pointer out of the way
Fifteen pointer styles, resized so the cursor survives a zoom. Smoothed while it travels, and hidden after a few seconds of stillness.
Export the frame you approved
The preview and the exporter draw the same plan, so the file matches what you signed off in the editor.
Quality
Videos stay sharp at 4K
Capture and export run on your Mac's own media engine. 1080p at 60 fps records without dropping frames, and 4K is a setting you pick.
- Resolution
- Up to 4K
- Frame rate
- Up to 120 fps
- Codecs
- H.264 · HEVC
- Encoding
- Hardware, VideoToolbox
- Compositing
- Metal
- Output
- Constant frame rate MP4
Formats
Export in any frame
Turn one recording into different formats without manually reframing every element. Switch from landscape to vertical and the layout stays intact.
- Landscape 16:9
- 4K
- Vertical 9:16
- Square 1:1
- Portrait 4:5
- YouTube
- Shorts
- TikTok
- Reels
- X
Record demos worth sharing
Free for 7 days. No watermark on anything you export.
No credit card required
Curious about the internals? Read the blog
FAQ
Zooms, exports and the rest
How long does a product demo take to make?
About as long as the demo runs, plus the time you spend changing your mind. The editor opens on the take with the zooms already placed, the camera framed and a background applied, so the first thing you see is close to the finished video rather than raw footage waiting for an hour of work.
How long should a product demo video be?
Two to three minutes for a demo someone chose to watch, under ninety seconds for one embedded on a landing page. Cutting to length is a scrub and a blade rather than a re-record, so the honest answer is to record the whole walkthrough and decide afterwards where it stops earning attention.
Can I fix one step without recording the whole demo again?
Yes. The take is a timeline, so trim the part that went wrong and record a replacement. Layout, background and audio can all change mid-take, which means a re-recorded step does not have to match the framing of the one it replaces.
Will the small text in my product be readable?
That is what the zooms are for. Capture runs at your display's native resolution, so a Retina Mac exporting at 1080p has roughly three times the pixels it needs and a 2x push still lands on real detail. Region zooms hold still, which is what you want over a form or a settings panel.
Do I need to know how to edit video?
No, and that is the point of the automatic first pass. What usually needs an editor — deciding where to push in, framing the webcam, putting the recording on a background, balancing the audio — has already happened by the time the window opens. Everything it decided is an ordinary slice you can move, retime or delete.
What do I need to record a product demo on my Mac?
An Apple Silicon Mac running macOS 14 or later, and the Screen Recording permission. If the demo involves typing into your product, granting Accessibility as well lets the zooms follow the field you are filling in — leave it off and clicks still drive them.
Does my demo footage get uploaded anywhere?
Not to make the video. Recording, editing and export all happen on your Mac's own media engine, so a demo full of customer data or an unreleased product never leaves the machine it was recorded on. There is no upload step and no cloud render.