Getting started
Your first recording
Start a take, stop it, and land in the editor.
Start
Press Shift + Command + R, or click the Prequel icon in the menu bar. The dock appears at the bottom of the screen.
- Choose what to record: Entire screen, Window or Area. See Sources.
- Turn the camera and microphone on or off with the two toggles. See Camera and microphone.
- Pick your source in the overlay that appears over the screen, then click Start recording.
A countdown runs over the region you chose, three seconds by default, and the take begins.
While recording
The dock collapses to a small bar with the elapsed time, a pause button and a stop button. The menu bar icon shows the elapsed time as well, so the dock can be hidden without losing track.
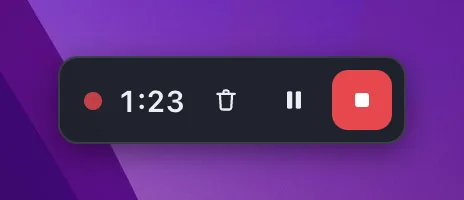
- Shift + Command + P pauses and resumes without ending the take. Paused time is dropped from the recording.
- The bin discards the take entirely.
Stop
Press Shift + Command + R again, or click the stop button. One key does both jobs: it begins a recording and stops the one already running.
The editor opens on what you just recorded, with the camera framed over the screen against a background. If Accessibility was allowed, a first pass has already added zooms wherever you clicked or typed.
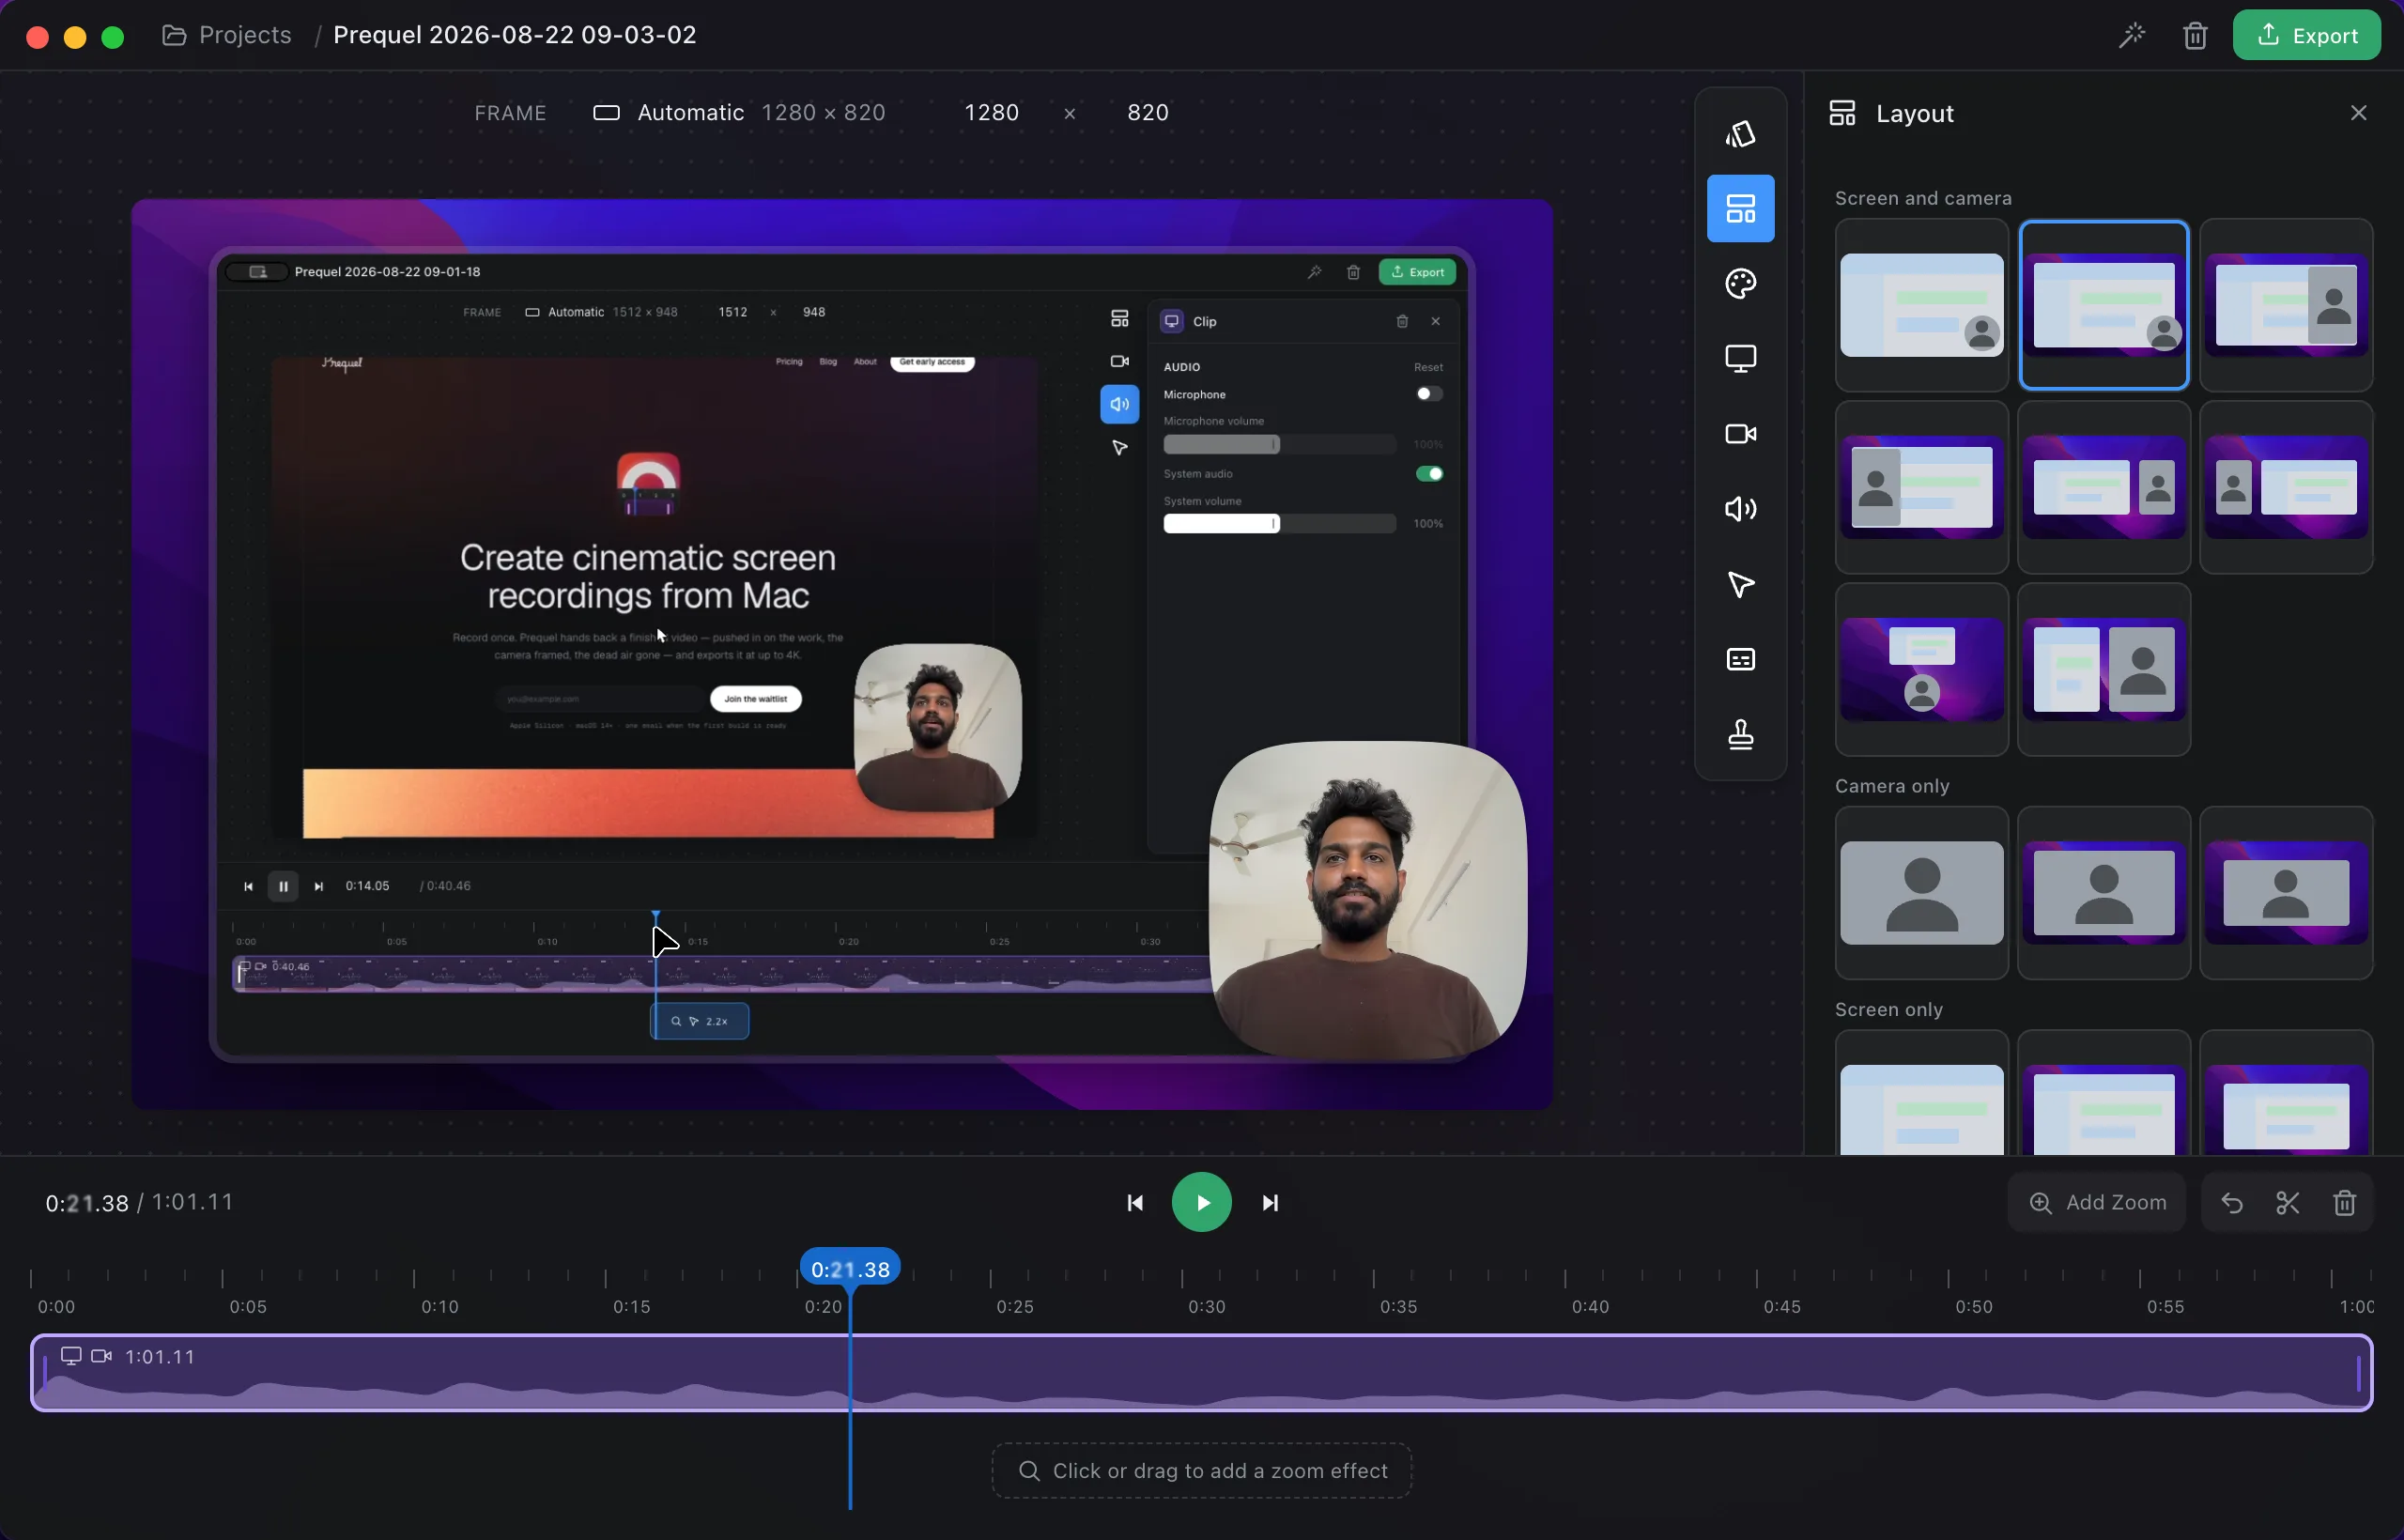
From here, The editor explains what is on screen, and Export is how the file leaves the app.
Frequently asked questions
- What is the shortcut to start recording?
- Shift + Command + R starts a recording and stops the one already running. It works while any application is focused, and you can change it in Settings.
- Can I pause a recording?
- Yes. Shift + Command + P, the pause button on the dock or Pause in the menu bar pauses the take; press again to resume. Paused time is removed from the recording.
- What happens when I stop?
- The editor opens on the take, with the camera framed over the screen against a background. If Accessibility was allowed, zooms have already been added where you clicked and typed.